Tips & Tricks for Coloring Your Own Products
Welcome to the official Tips & Tricks blog post! This page has all the information you could ever need in order to feel confident getting started with Coloring Your Own products!
Send me photos of your creations: In progress or complete!
| coloringyourown@gmail.com | |
| Text | 763-344-6340 |
| All social media | @coloringyourown |

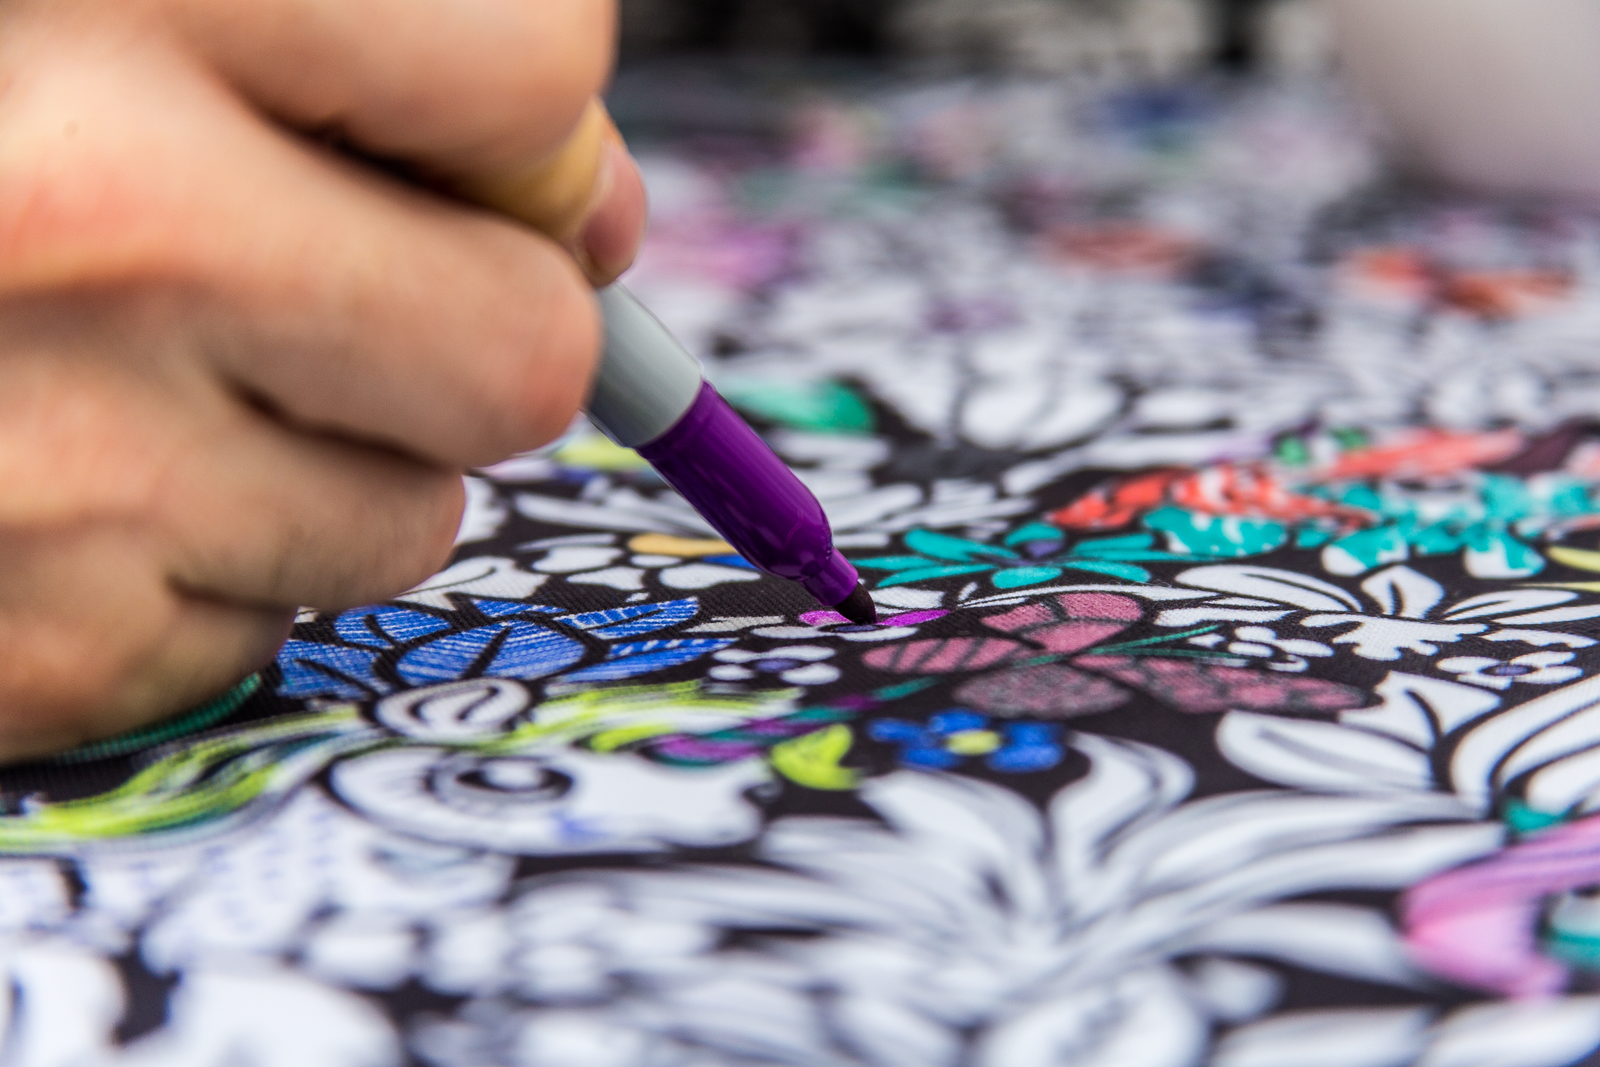
Customer Submitted Photos!


Customer Submitted Photos!
Which Markers work best to color your bags?
| Best for... | Drawbacks are... | |
| Sharpie Markers / M&G Markers / Other alcohol-ink markers | Most color options on the market. Most fun coloring experience | Bleeds & fades about 10-15% when you wash |
| Fabric Markers | Perfect coloring - no problems washing or bleeding | Fewest amount of color options. |
| Crayola Ultra Washable Markers | Color & Recolor. Great option for kids. | You may need to use Oxyclean to reset the blanket to start over. |
| Acrylic Paint Markers | I do not recommend | The paint colors over the black areas of our fabric. |
| Metallic Markers | I do not recommend | The ink colors over the black areas of our fabric. And it doesn't even look metallic. |

1. Start with the smallest marker point that you have first so bleeding control is easy
2. Only use chisel tip to cover large spaces
3. Most universal option is the standard fine point markers

Start in the center of an area and work outward to the edges

Stop coloring just shy of the black line. Let the natural bleeding close the gap.
As you use the set of markers you have, this step will become less necessary.
New markers bleed more than more broken-in markers.
As you use the set of markers you have, this step will become less necessary.
New markers bleed more than more broken-in markers.

Be careful with smaller details that you would like to have remain white.

Some people are more detail-oriented and would prefer to use ultra-fine point markers - See top butterfly
Others are more abstract and use a blending technique to color detailed areas - see bottom butterfly.
Both are beautify - color it your own way!
Others are more abstract and use a blending technique to color detailed areas - see bottom butterfly.
Both are beautify - color it your own way!
How to color create a beautifully blended gradient.

SWIPE to see demo step by step


-
Start by picking two colors that are similar - in this case I chose pink & orange. Other options can be yellow and lime green, blue and purple, red and orange, red and purple, etc.
BEGINNER TIP: The closer the two colors are together, the easier gradient is to achieve - Start by coloring with the darker color first. Sometimes the cap color doesn't fully communicate which color will be darkest on the fabric so it is best to check on a test area.
- Color with the lighter color right up to where you would like the gradient to be.
- Continue flip flopping colors coloring quick hash-lines over where the gradient should go and the natural bleeding of the ink should do the rest of the work.
- Make sure you are coloring while both inks are wet so they meld together beautifully.
How to Fix a Mistake

SWIPE to see demo step by step


SWIPE to view visual tutorial
-
WAIT until all of the ink is dried before correcting.
Correcting before the ink is fully dry can cause a larger issue of bleeding into both areas you would like separate - Notice the color of the mistake where you colored outside of the line - in this case my color is orange.
- Identify a color that is similar and/or darker than the mistake
- Color right over it.
- BOOM done. That easy.
- SIDE NOTE - I started coloring a rose yellow once and got 1/3rd done and then changed my mind to make it blue. Since the blue was so much darker than the yellow, it didn't even look green. This technique works so well.
How to Wash Coloring Your Own Products

- Prior to washing, place in dryer for a full heat cycle to heat-set the inks.
- Wash alone for first wash in cold water
- Wash 30 days after coloring (if colored using permanent markers)
This prevents ink transfer if/when your product comes into contact with water (rain/leaky water bottle/pool...) - Wash inside out
- Air Dry ONLY
- BONUS - Add white vinegar to wash cycle
- BONUS - Scotch guard spray before washing (commentor trick, haven't personally tested it)
Leave a comment